NOTE: this install is for version 1.20.4 – Old versions here.
1. First, make sure you have the latest version of the Java JDK installed:

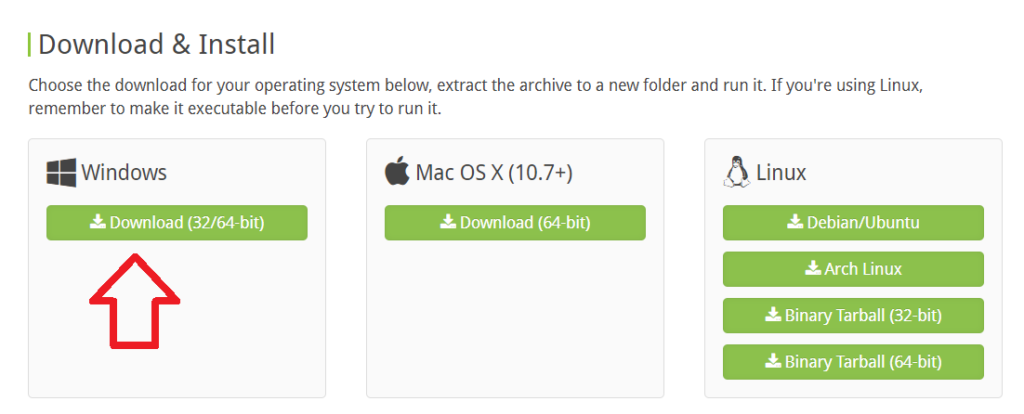
2. Next, download MultiMC for free online:
3. Now, go ahead and launch MultiMC, if you may get a warning – make sure to permit it:
4. After this you’ll need to add the WHIMC instance, add it like this:
Instructor (teacher) instance (190mb):
https://uofi.box.com/shared/static/lzmpq01mik4wgu5gc01rtircq94623od.zip
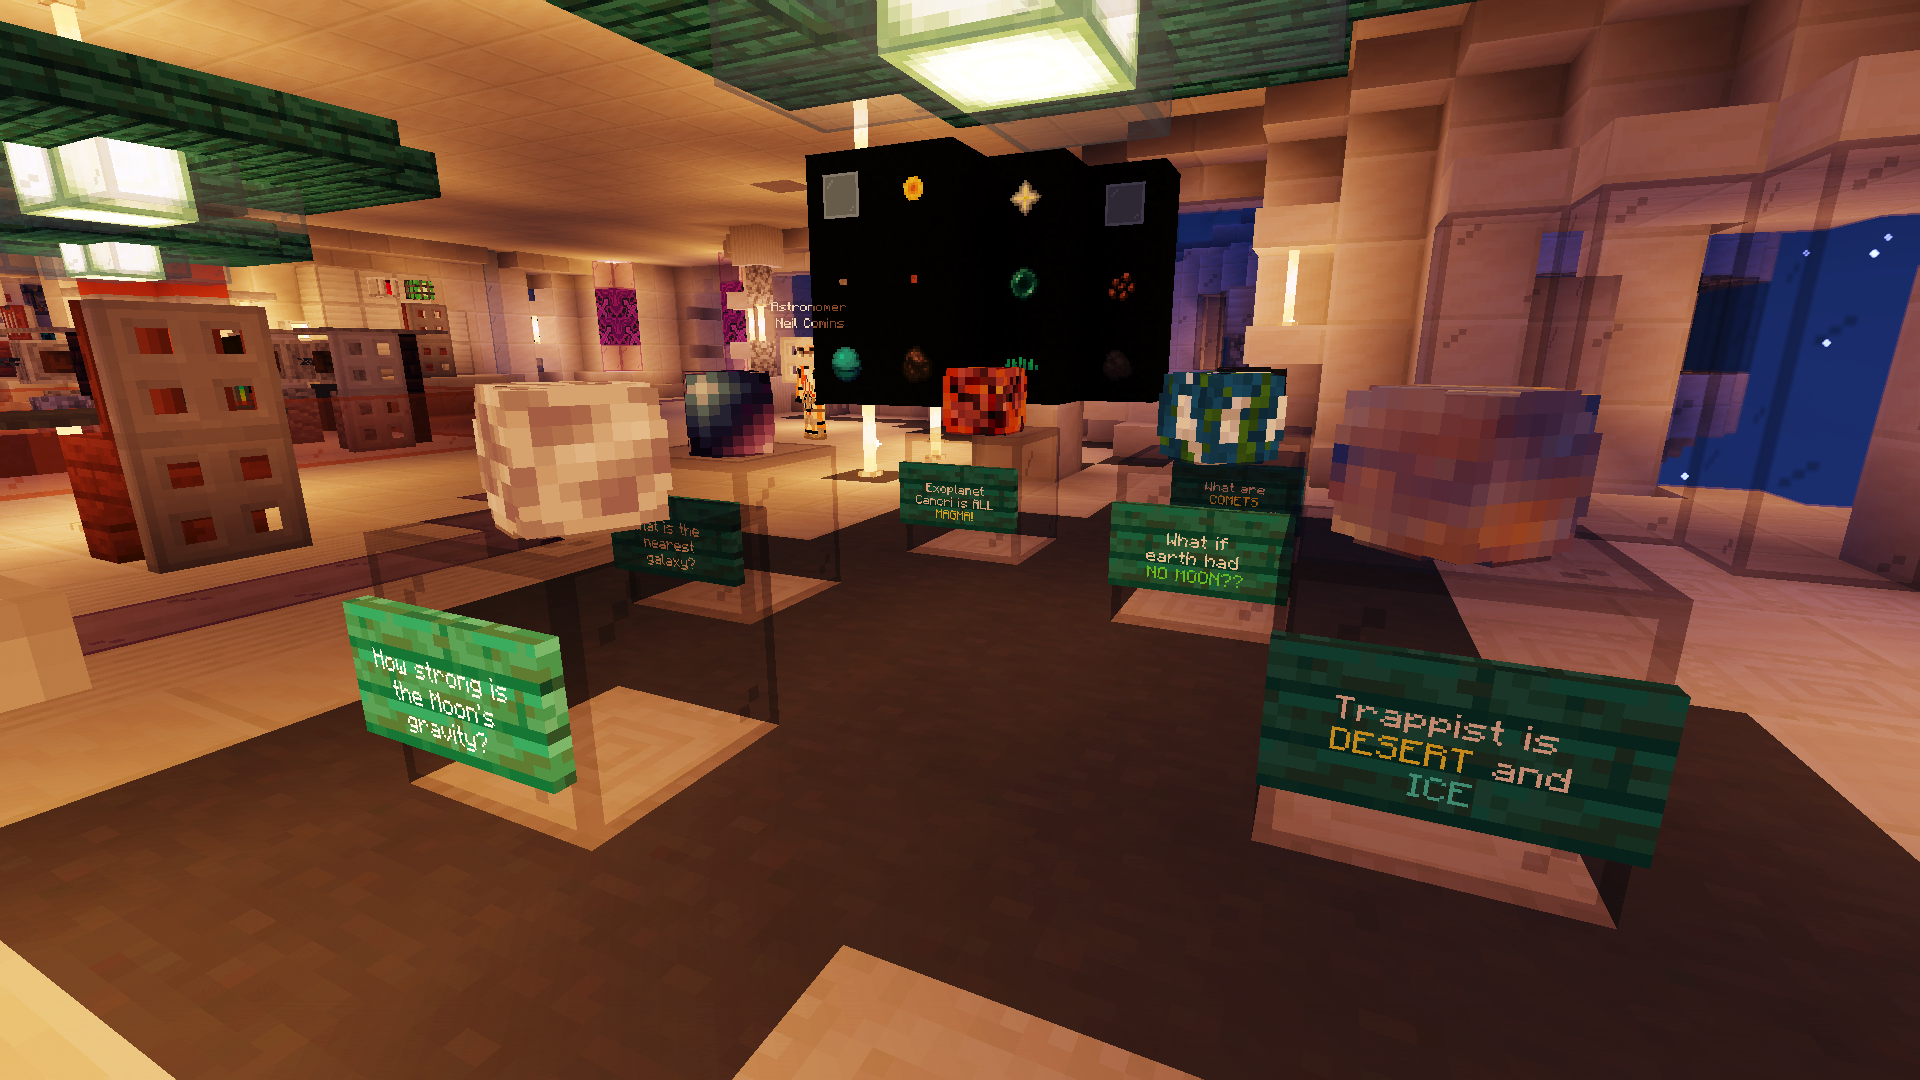
Participant (kid) instance (includes celestial bodies single player maps – 1.4gb):
https://uofi.box.com/shared/static/360rat8373xq8pgwu0sqaxt0colh32iu.zip
Dome Theater instance (Celestial Bodies + configured shaders and mods – 2gb):
https://uofi.box.com/shared/static/ovtcasnxaln1ewn6sezedl36tozjgg9q.zip

5. Finally, login with your Minecraft Java Edition account: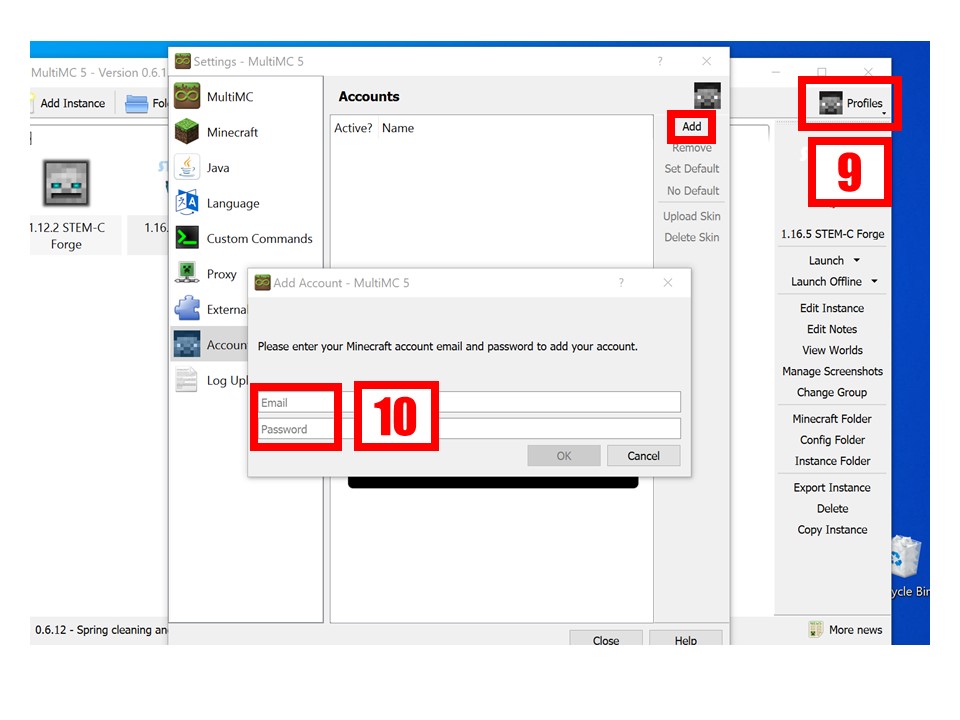
IMPORTANT: If you get a java error tell it to auto-detect Java under settings.
You’re good to go, launch the instance!